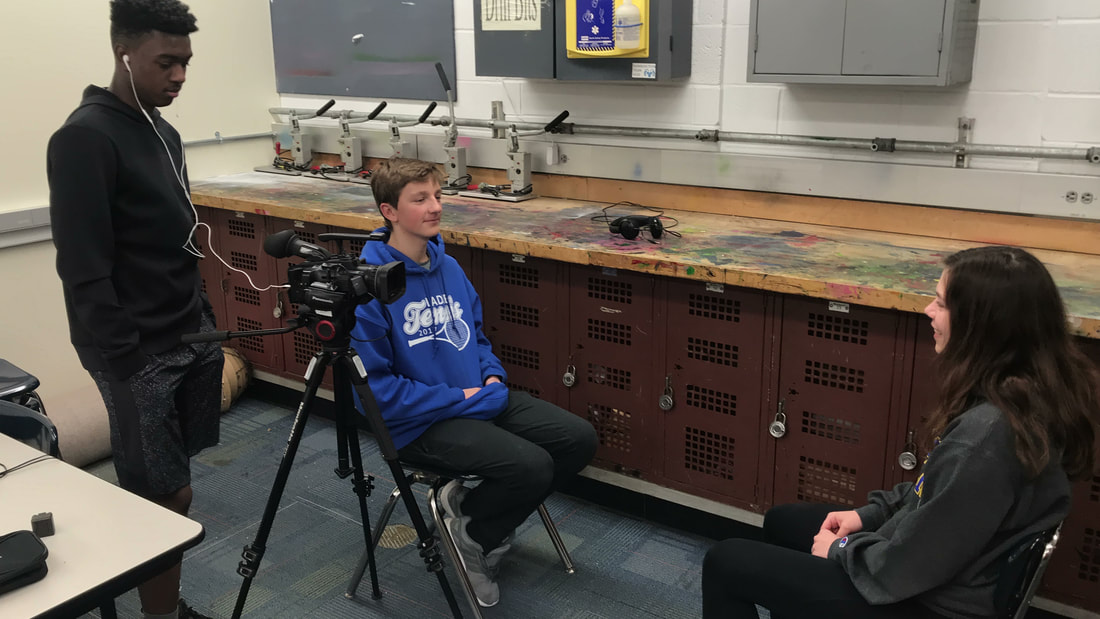
 Today in class, we watched videos about how to set up an interview. Interviewing can be very tricky. Every small thing matters and will affect the viewers emotions or reaction to what they are viewing. To begin, placement of how the reporter and the person being asked questions is very important. They want to be pretty close. The angle of the person being questioned is important, too. The person must follow the rule of thirds. Also, communication is key. The interviewer can say phrases such as "tell me more" or "can you tell me about..". This makes the person being interviewed feel like they're not being interrogated and feel more comfortable to answer the questions more freely. I also learned that when positioning the camera, you only want to see the person from the shoulder up so that you don't see the wire from the microphone with little headspace at the top. There are many more details that go more into depth about interviewing but these are just a few.
1 Comment
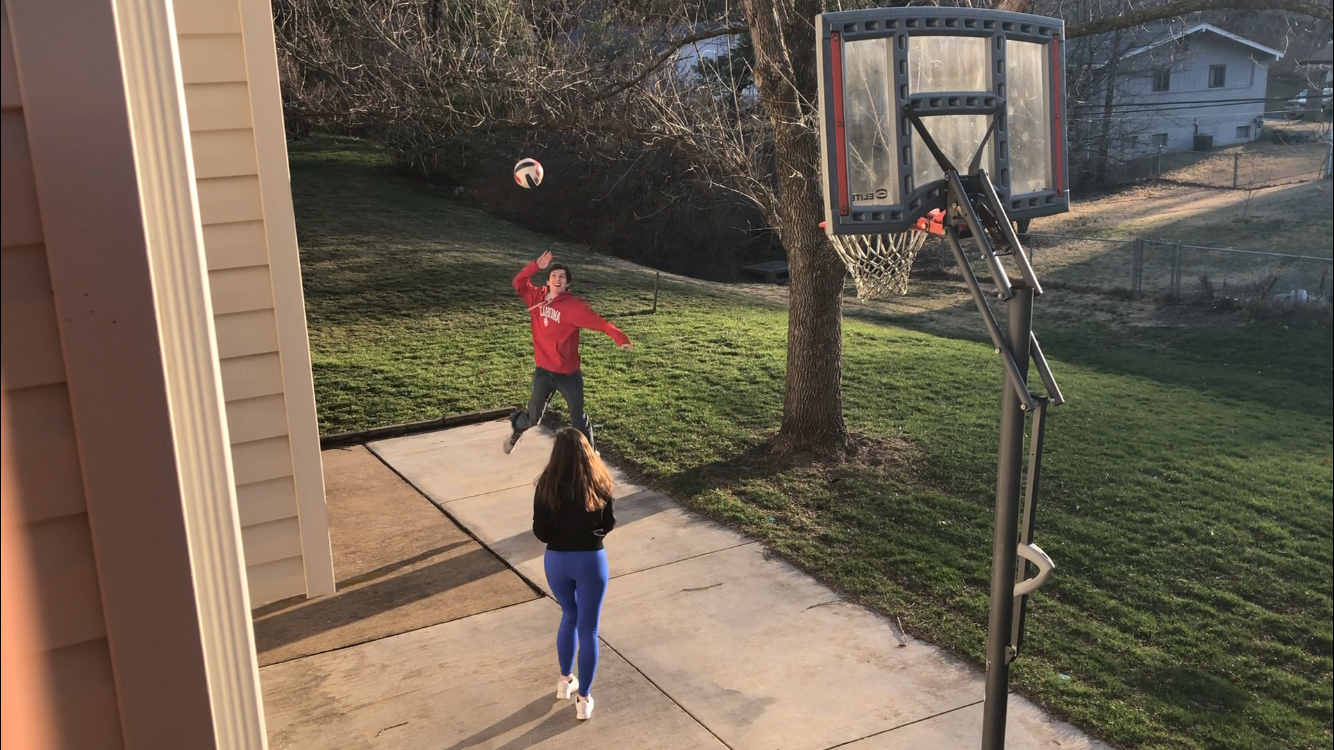
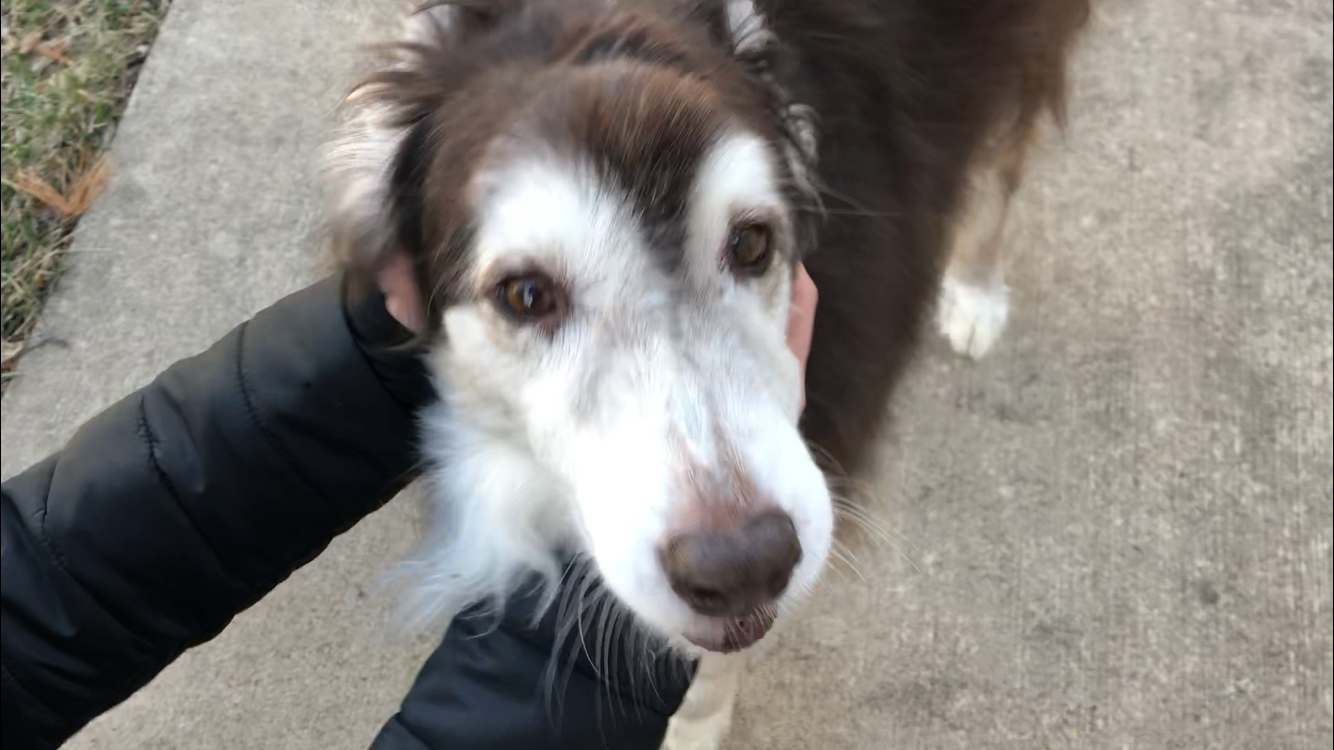
All of these shots were taken to practice for when I need to shoot for my real 6 word story video. I picked these shots because they are my favorite. These shots were taken in the woodworking back room right next to our classroom.
 To start off, the video scavenger clips that Mr. Goble assigned to us helped me and my group to help me learn what wide, medium, and tight shots look like. While Mr. Goble was looking over my clips, he told me that I actually did many things that were more advanced that I didn't try to. Secondly, learning how to use Final Cut Pro is a little challenging. There are so many different types of things you can add to your clips. For example, you can add filters, text, transitions, and so much more. I learned how to detach audio and add music. I also learned how to fix the lighting and make clips steadier. Editing in Final Cut Pro is fun and I am excited to learn more in depth about it.
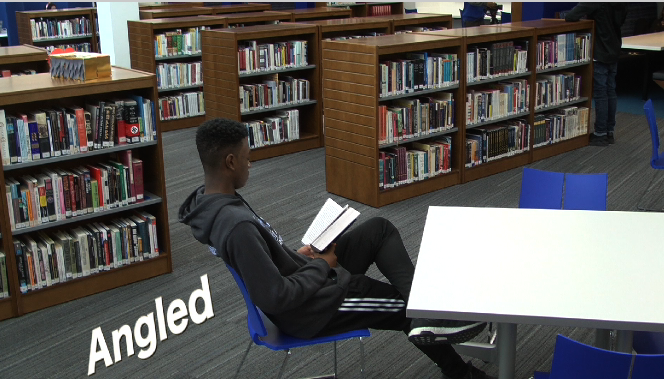
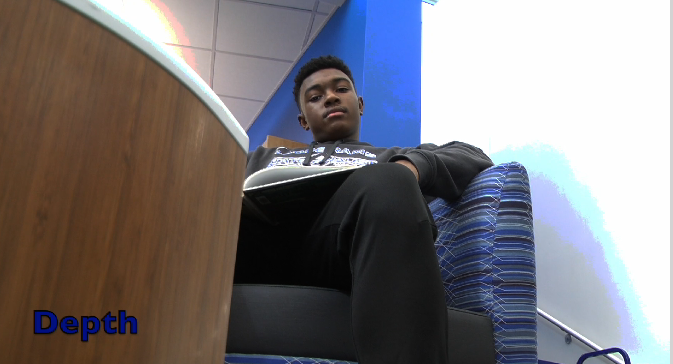
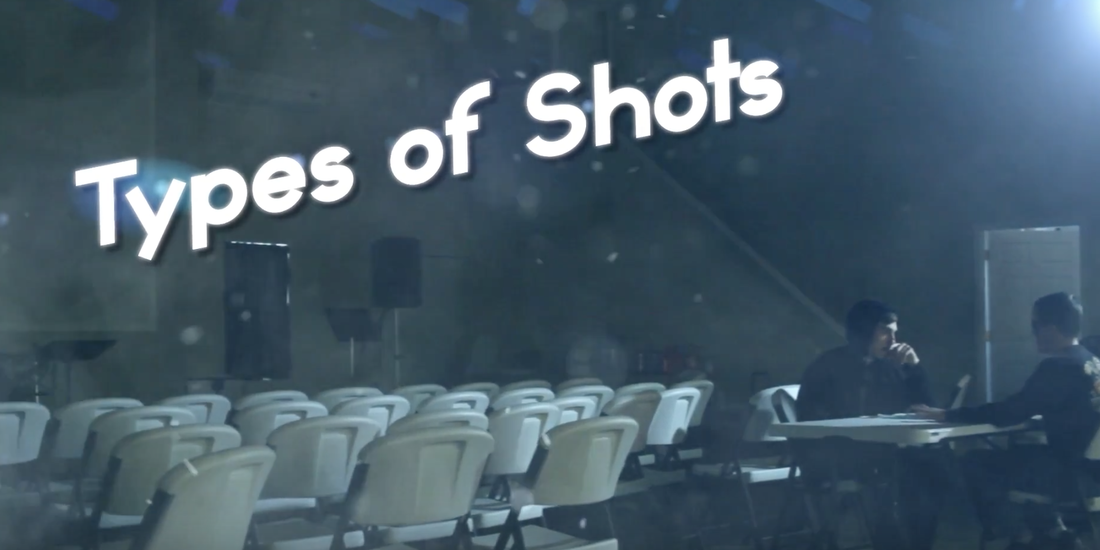 Today in class, I watched multiple videos on the different types of shots. The farthest shot away is called the extreme wide shot. There is a big range of space below and above the object along with a wide view of whats around the object. The next shot is the wide shot. This shot is a little bit closer than the extreme wide shot. This shot still has space above and below the object, but is closer in range to the object. The next shot is a full shot. There is little head room in a full shot so the object's head should be very close to the top of the shot. The bottom should be in full view as well. It's called a full shot because the full object is shown. After that comes the medium shot. The medium shot cuts off the bottom of the object, usually half is showing. There is very very little head room at the top. The last shot is the close up. If the subject is a person it should take up the screen from top to bottom. These are basic types of shots, but there are many more out there. Some people use the rule of thirds which is when a person uses grid lines to align an object correctly. People use a variety of shots to create depth and to keep the viewers mind wondering and not bored.
|
Hannah HarderI am 12th grader at Ladue High School. I love to play volleyball and I enjoy playing the piano and hanging out with my friends. Archives
September 2019
Categories |
 RSS Feed
